KOWBOY's kickass 3D Studio Max r3 tutorial
Part 3 - Smackin' some textures on
Hey ho! Today, as I promised, we will learn some simple texturing. Flatshaded objects aren't so nice looking at in max so we really need to put some, hopefully, nice looking textures on our objects.

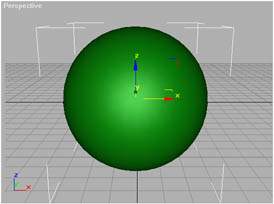
Humhumm. So. How do we apply a material to an object? Let's say we have a nice Geosphere looking something like this and we want to assign a chrome-like material to it. That would make it look a lot cooler, don't you think so?
To assign a material we need to enter the so-called Material Editor. The easiest way is to press M on your keyboard. That will take you to the famous Material Editor. It's also located in the Tools rolldown under Material Editor. In the toolbar it's located here:

The actual Editor pops up in a new window and looks like this:
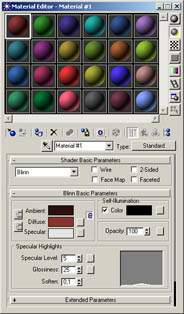
Actually you won't see as many material previews as I have in this picture but let's configure it to show some more for your pleasure. You right-click on a material preview (on one the spheres) and from the popup menu you select 6x4 samples window.
As you can see there are a LOT of different buttons, options, settings etc. The icons to the right of the samples window basically are options for the look of your material preview. For example you can change the little sphere to a box or cylinder if you prefer this. You can play around with these if you think that's fun. I wont stop you.
The little line with icons beneath the preview windows are tools associated with the current material. Such as assign material, reset material, effects channel etc. Beneath this line is where the actual material properties are located. Here we can select a different shading method, set ambient color of the object and such. If you scroll the props down by clicking and holding and dragging you can see a menu that says maps. Expand this menu and you will see a rollout with a lot of different maps. This is where you can assign reflection maps, bump maps, diffuse maps, specular maps etc etc. Very useful when creating your own materials.
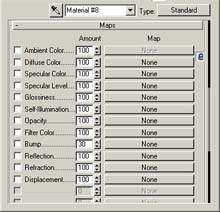
But let's start up easy by selecting one of the standard materials that are shipped with max. You can see a button which says Standard.
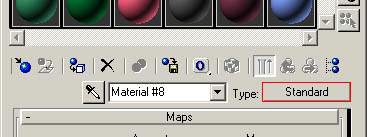
Click this and a new window pops up: the Material/Maps browser.
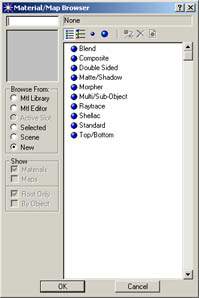
Now you see some different types of materials that you can select from when you are creating new ones. To browse the standard materials click the radio button called Mtl Library. A long list of materials is now visible. Click one and you can see a preview in the upper left corner. By clicking one of these icons you can select some different preview types which you can see the effect of in the material list window.

Now select Metal_Chrome from the list and press ok. We now are back to the Material Editor and you can see a preview of the nice material we selected. Assign it to our sphere by clicking the Assign Material to Selection icon.

Make sure you have selected the sphere. Otherwise it will be hard to assign it a material. :) Now you can see that the surface of the sphere has changed to a chrome-like one in the Perspective viewport. Click the Quick Render button to see your chromed ball.

Wow. Now that's nice.
So as you can see: Assigning a material to your object isn't so hard.... yet. Hehe.... Of course. When you have much more complex objects than a sphere it won't be as easy to map them. Now map some objects and play around a bit with the materials properties. Try to make your own by looking at how the others have been done. It isn't that hard...
The next tutor will be on lightning. We want to put some nice lights to our scene to make it look more realistic.